Development Environment Setup
Video Lecture


Overview
The most universal approach to installing Python is to visit the official Python download page at,
https://www.python.org/downloads/
Normally this page will detect your operating system from the useragent in your browser and select which install is appropriate for you.
There will be 64 and 32 bit versions for your operating system. At the time of writing this documentation, the option of downloading the 64bit version was the most common, and the version was 3.11.0.
Also ensure that if you are installing Python on Windows, make sure to add it to your path.

The code in this documentation will be using a simplified generic style of Python that should work in all versions since Python version 3.
To test if you already have python on your system, depending on your operating system, whether Windows, Linux or Mac OSX, open a terminal/bash/cmd or PowerShell prompt.
And type
python -V
Note the capital V in the above command.
Sometimes python is named as python3
So you can also try
python3 -V
You are looking for a response that indicates you have Python 3 or above installed. Not an error, or Python 2.x
On my Windows workstation, if I use PowerShell, the response is
PS> python -V
Python 3.11.0
I have Python3 already installed using the official python link from above.
If you are using a recent version of Linux or Mac OSX, then the command to check for the Python version on your system is most likely to be,
python3 -V
Remember to follow the official install instructions for your operating system at https://www.python.org/downloads/
Course Code
All the code examples in this documentation can be viewed from my GitHub repository at https://github.com/Sean-Bradley/Design-Patterns-In-Python
If you have Git installed, you can download a copy locally using the command
git clone https://github.com/Sean-Bradley/Design-Patterns-In-Python.git
or you can download a zip of all the code, by visiting this link in your browser
https://sbcode.net/python/zips/Design-Patterns-In-Python.zip
or using wget on Linux
wget https://sbcode.net/python/zips/Design-Patterns-In-Python.zip
sudo apt install unzip
unzip Design-Patterns-In-Python.zip
cd Design-Patterns-In-Python/
You can then experiment with the code at your own pace and try out different variations.
If you would rather type the code from the documentation, then follow these further recommendations.
On my system, I have created a working folder on one of my spare drives, E:\, and then created a new folder in it named python_design_patterns, and then cd into it. You can use a different folder name if you prefer.
PS C:\> e:
PS E:\> mkdir python_design_patterns
PS E:\> cd .\python_design_patterns
Each section will be in a new folder named after the design pattern section.
I.e., The code that I write for the Factory pattern will be in its own subfolder named factory
PS E:\python_design_patterns> mkdir factory
PS E:\python_design_patterns> cd .\factory
PS E:\python_design_patterns\factory>
VSCode
If you are working on Windows, then I recommend to also install VSCode to use as your IDE when learning Python.
This is optional, and you may prefer to use Notepad or any other popular IDE that you can download or use online that will also assist you when writing Python.
You can download VSCode from https://code.visualstudio.com/download
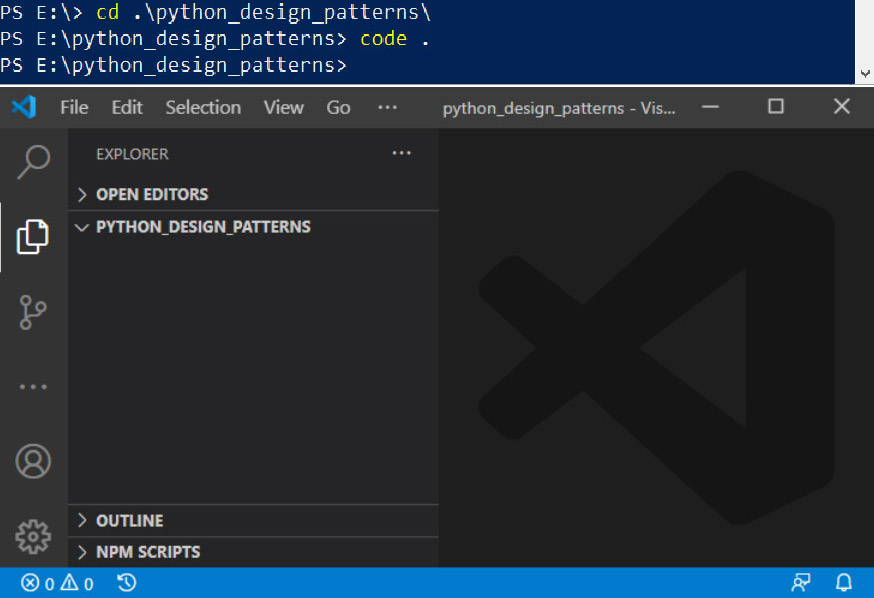
You can then open VSCode from your current working folder by typing code .
PS E:\python_design_patterns> code .
And VSCode will open ready for you in your working folder where you can use it to add new files or folders as needed.
When opening a Python (*.py) file in VSCode, it may prompt to install the recommended Python extensions. Select yes to do this.
It may also prompt you to download Python from the Windows store. This is unnecessary since you have already installed Python at the beginning of this section. Instead, you can select the option to use the existing Python interpreter already installed on your computer.
You can also change which Python interpreter VSCode is using later by pressing F1 on the keyboard, start typing python interpreter into the text field, and the option to select the interpreter will appear. Now click the option to select the interpreter.
Now select the preferred interpreter from the list.

Note that when changing the interpreter, it may not work instantly. You will probably need to close all open copies of VSCode, and then reopen your project again to use the selected interpreter.
SBCODE Editor (SBEDIT)
Many of the code examples are also demonstrated using the SBCODE Editor (SBEDIT).
SBEDIT is an IDE that runs in the browser and can be used to experiment with the code examples on this website.
Remember that the code used in the lessons is written to be executed on your local machine and to output to the console. To make the code run in the browser and output to the HTML document, I have used the Brython interpreter. You will notice some difference in the code in the SBCODE Editor versus the code shown in the lessons. This is to make it able to write to the HTML document in your browser. The actual concept taught in the lesson remains the same, despite how it is output to the different environment.
Also, remember that the SBCODE Editor is not as versatile as building your Python application using a desktop IDE, especially in terms of intellisense, importing module files and real-time syntax checking. But, it can be useful to quickly understand, or experiment with code in the browser, rather than starting up your desktop IDE and loading your Python project locally.
Example,