Skip to content

Install and Start Grafana

Video Lecture

Install and Start Grafana Install and Start Grafana

Description

Grafana is the analytics platform for all your metrics. Grafana allows you to query, visualize, alert on and understand your metrics no matter where they are stored.

In this lecture, I will manually install Grafana on an Ubuntu 20.04 (LTS), and then start it.

https://grafana.com/grafana/download

Note

The majority of the course is run on an unrestricted cloud hosted Ubuntu 20.04 LTS. You can get a minimal Ubuntu server from cloud providers. This is so that we can safely experiment with Grafana and many data sources without worry of breaking anything important such as your production servers.

In this course I used Digital Ocean, with this link https://m.do.co/c/23d277be9014. You will get $50 credit for 30 days for new registrations, where you can create and delete as many VMs as you wish up to the credit limit without any charge. The minimal $5 a month Ubuntu 18 Droplet is what I used for all the examples in the course.

Other providers are Hetzner Cloud, AWS, Azure, GCP and many more. Each solution will have there own requirements that you will need to overcome especially with giving your server network access and sufficient permissions.

I recommend to keep it simple and use the Digital Ocean or Hetzners links I provided so that you can follow all the examples in the course with minimal issues.

If you use Centos, you may have more specific issues with SELINUX that you will need to overcome.

After the course, once you are familiar with Grafana, then you should install it on your chosen environment so that you know whether your problem is related to Grafana, or your chosen environment.


$50 - 30 Day FREE Credit

€20 FREE credits

With a new installation of your operating system, I am using Ubuntu 20.04 LTS, we should SSH onto our new server.

On Windows we can use Putty as our SSH client. SSH means 'Secure Shell'.

Download and Install Putty, and add your new servers IP address to the Session configuration page.

Once you have connected, on Ubuntu, make sure your package lists are updated.

sudo apt update

Then ensure that the dependencies for Grafana are installed.

sudo apt-get install -y adduser libfontconfig1 musl

Now to download the binary, and run the Debian package manager.

wget https://dl.grafana.com/oss/release/grafana_8.2.3_amd64.deb
sudo dpkg -i grafana_8.2.3_amd64.deb

Note

Grafana is updated very regularly and is now at version 10.x.x.

You can install Grafana v10 now if you prefer. It is not necessary yet though, since we will change Grafana versions several times througout the course.

Be sure to read my notes at the bottom of each page regarding Grafana 10. Most differences compared to the versions shown in the video, are to do with user interface layout.

To see the list of release version numbers available to download, visit https://github.com/grafana/grafana/tags

The installation has now completed. You can now start the Grafana service

sudo service grafana-server start

Check the status

sudo service grafana-server status

Warning

If you reboot your server, the Grafana Service may not restart automatically.

You can set the Grafana service to auto restart after reboot by entering,

sudo systemctl enable grafana-server.service

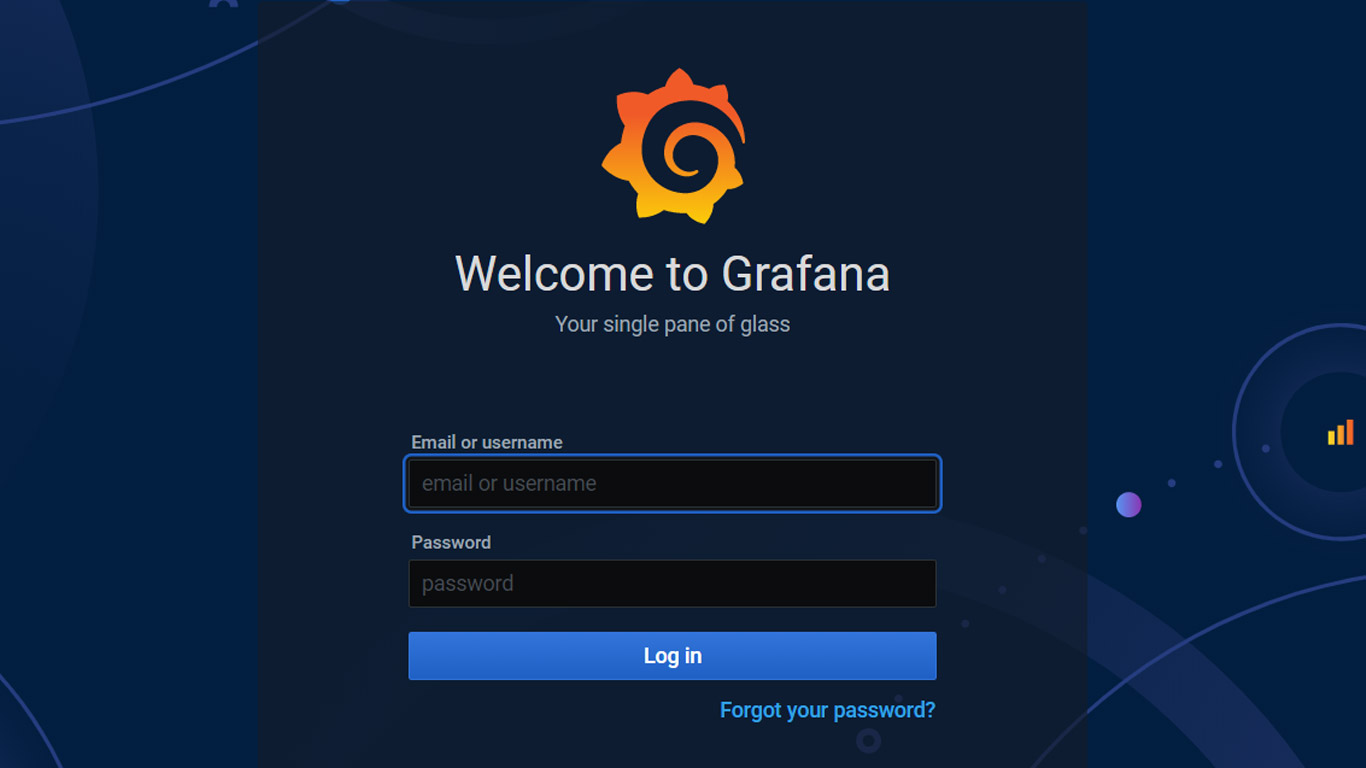
Your Grafana server will be hosted at

http://[your Grafana server ip]:3000

The default Grafana login is

Username Password
admin admin

You have the option to update your password upon first login and then be presented with the option to add a new data source and create dashboards and users.

Start Grafana First Time

Reset Password

If you forgot your password then you can reset it using the grafana-cli command

grafana-cli --homepath "/usr/share/grafana" admin reset-admin-password admin

Your username/password will now be admin/admin

Next time you log in, you can update your password to something else other than admin

More Info : https://grafana.com/docs/grafana/latest/administration/cli/#reset-admin-password

Grafana Cloud

Note that this course is predominantly about installing and managing Grafana OSS (Open Source). After completing most of this course, you would have become familiar enough with Grafana to begin experimenting with your own Grafana Cloud deployment.

Grafana Cloud is a managed service where you can subscribe to certain levels of support. This may be a more suitable approach for your corporation long term rather than building and managing your Grafana server manually is I show in this course. While it is important to know the inner details of managing your own Grafana server, it can later be more strategic for your business to outsource the many aspects of it.

So, when that time comes, use my link here, Grafana Cloud, and you will receive 28 days of PRO trial rather than the default 14 days.

Benefits,

  • Upgraded 28-day trial to Grafana Pro (vs. the standard 14-days)
  • 3 users
  • 10k metrics
  • 50GB logs
  • 50GB traces
  • Automatic updates
  • 30 notifications for OnCall
  • 14-day retention

Sign up at Grafana Cloud

Grafana 10 and Ubuntu 22.04 Notes

Grafana is being changed and updated all the time. Grafana 10 and Ubuntu 22.04 are now the latest major versions, so I have added notes to many pages in the documentation to indicate any differences that you should be made aware compared to what you may see in the videos.

I made these extra notes using Grafana (OSS) V10.0.0 on Ubuntu 22.04. Note that there is a new version of Grafana released about every week with some menu option being renamed, moved, a default being changed, or a new addition to the Grafana application itself.

In this installation section, there are no considerable differences to be aware of other than indicating a different version number in the installation commands in case you wanted to install that particular version.

sudo apt-get install -y adduser libfontconfig1 musl
wget https://dl.grafana.com/oss/release/grafana_10.0.0_amd64.deb
sudo dpkg -i grafana_10.0.0_amd64.deb

Error : grafana depends on musl

Since Grafana v10.1, Grafana now also needs the musl dependency installed before you can install.

sudo apt-get install -y musl

Comments